Giving your car a fresh coat of paint can breathe new life into its appearance, and with the right tools, you can achieve professional-quality results in the comfort of your garage. Using an inflatable paint booth offers a convenient and controlled environment for your DIY car painting project. An inflatable paint booth provides a cost-effective solution compared to traditional permanent paint booths.
Inflatable paint booths often come equipped with features that allow for temperature regulation. This is crucial for achieving optimal paint drying conditions. Controlling the temperature inside the booth helps to ensure that the paint cures properly, leading to a durable and long-lasting finish.
They eliminate the need for constructing a fixed structure, which can be expensive and time-consuming. The portability and versatility of inflatable paint booths provide a more budget-friendly option for individuals and businesses looking to set up a painting environment without a significant upfront investment. In this article, we’ll explore some steps to help you successfully paint your car at home with an inflatable paint booth.
Ways of Car Painting at Home
The inflatable walls and ceiling of the paint booth act as a barrier against airborne contaminants. This protection is essential for achieving a high-quality paint finish, as even small particles in the air can affect the surface’s smoothness and appearance. The enclosed space minimizes the risk of contaminants entering the painting area.
Inflatable paint booths can be designed to comply with environmental regulations and local ordinances. This can be especially important in areas where strict environmental standards must be adhered to. From preparation and safety measures to techniques for achieving a flawless finish, these steps will guide you through transforming your vehicle with a stunning and durable paint job.
- Prepare Your Workspace
Start by setting up a clean, well-ventilated workspace inside the inflatable paint booth. Ensure the area is free from dust, debris, and other contaminants that could affect the paint job. Ventilate the space adequately to allow proper airflow and minimize the risk of overspray settling on freshly painted surfaces.
- Choose the Right Paint and Equipment
Select automotive paint specifically formulated for your car’s make and model. We observed that VEVOR inflatable paint booth review provided information about their unique ways of improving your vehicle. Gather the necessary equipment, including a high-quality spray gun, air compressor, masking tape, plastic sheeting, and sanding materials. Ensure that all tools and materials are clean and in good condition to achieve a smooth and even finish.
- Prep the Car Surface
Thoroughly clean and degrease the car’s surface before painting. Use automotive soap, water, wax, and grease remover to eliminate any residue. Sand the existing paint with fine-grit sandpaper to create a smooth surface for the new paint to adhere to. Mask off areas you don’t want to paint using masking tape and plastic sheeting.
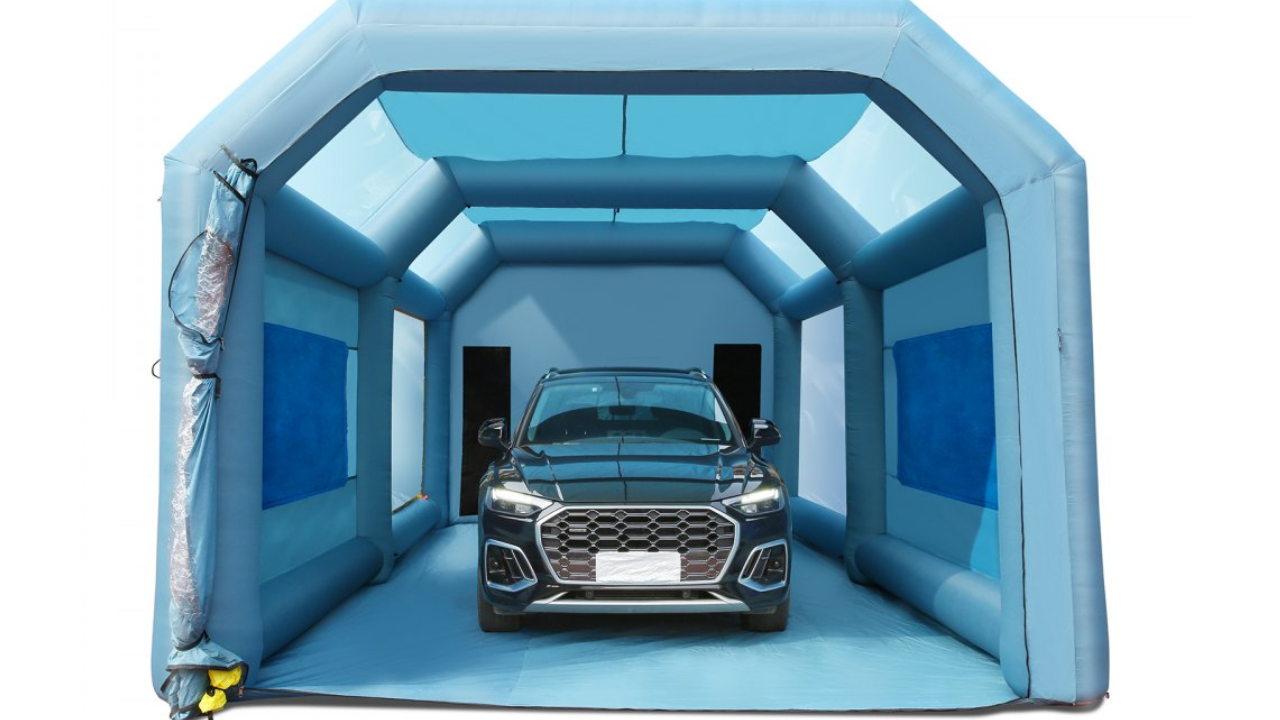
- Set Up the Inflatable Paint Booth
Assemble the inflatable paint booth according to the manufacturer’s instructions. Ensure it is securely anchored and the ventilation system functions correctly. The inflatable paint booth provides a controlled environment, protecting your car from dust, debris, and contaminants while allowing for proper ventilation during the painting process.
- Apply Primer and Base Coat
Begin the painting process by applying a high-quality automotive primer to ensure proper paint adhesion. Allow the primer to dry thoroughly before applying the base coat. Apply the base coat evenly using smooth, overlapping strokes with the spray gun. Follow the manufacturer’s recommendations regarding drying times between coats.
- Achieve a Professional Finish
To achieve a professional finish, apply multiple thin coats of paint rather than a single thick coat. Allow every coat to dry as a whole before applying the next. Use fine-grit sandpaper between coats to smooth out imperfections and promote adhesion. Pay attention to even coverage and avoid excessive buildup in specific areas.
- Clear Coat and Final Touches
Once the base coat is dry, apply a clear coat to protect the paint and enhance its durability. The clear coat provides a glossy finish and protects against UV rays and environmental elements. Allow the clear coat to cure according to the product’s instructions before removing masking tape and plastic sheeting.
Sum Up
Painting your car at home with an inflatable paint booth offers a cost-effective and rewarding DIY project. These steps can help you achieve professional-quality results and give your vehicle a fresh and vibrant appearance. From meticulous preparation to applying primer, base coat, and clear coat, this guide empowers you to transform your car’s exterior confidently. Embrace the art of DIY auto painting, and enjoy the satisfaction of driving a vehicle that reflects your style and attention to detail.
Write and Win: Participate in Creative writing Contest & International Essay Contest and win fabulous prizes.